Are you ready to hold your story in your hands? Publishing a print book is a truly rewarding experience, and Draft2Digital makes it easy for every author. Whether you’ve already launched an ebook or you’re starting fresh with your print edition, our streamlined process ensures your book looks fantastic and reaches readers worldwide. Let’s explore how to bring your print book to life with D2D Print!
If you are starting a Print Book for a book you already have with D2D as an ebook:
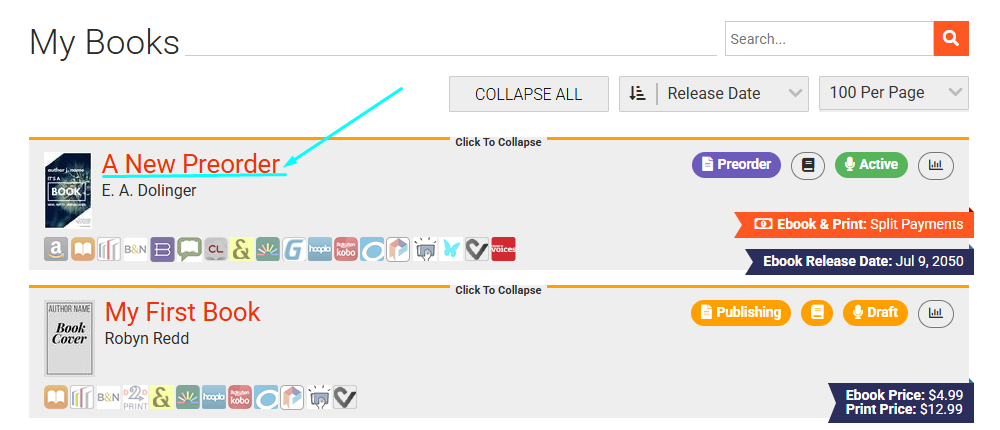
Log in and click on the My Books button on the upper right side of the screen. That takes you to the My Books Dashboard where you can see a list of all your books.

Click on the title of the book you want to add to with a Print Book Project.
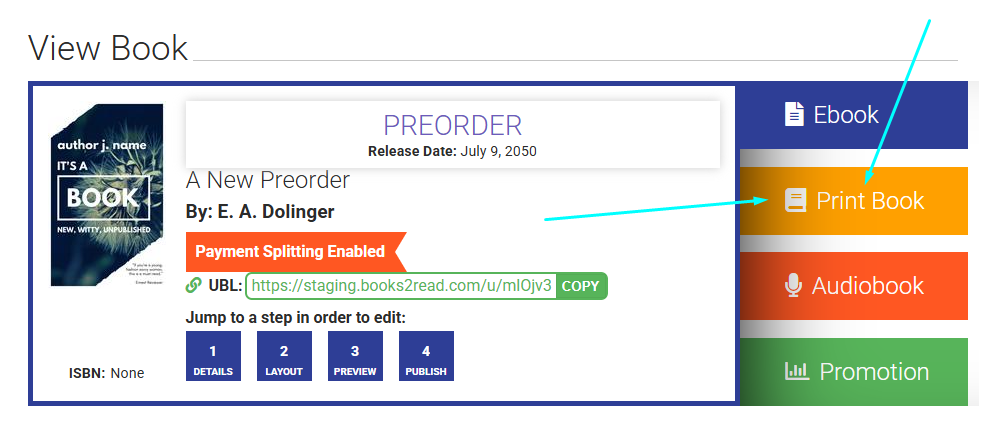
Click the Yellow “Print Book” tab that can be seen on the right-hand side of the top section of your View Book page.
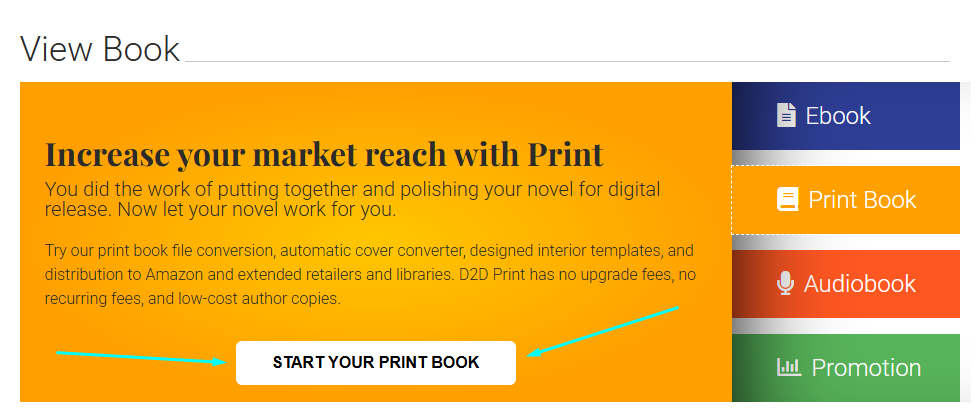
Click the button that says “Start Your Print Book”.
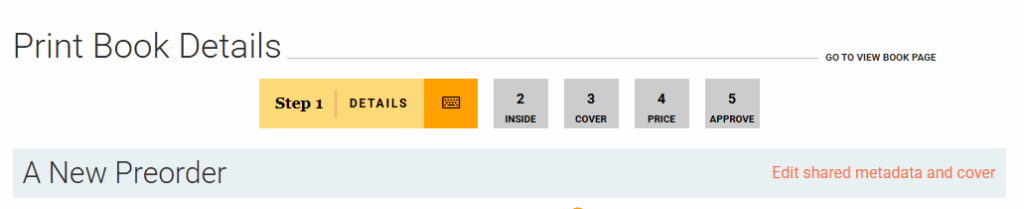
Step 1: Print Book Details
If you want to generate a print book file from the Word Document you used for your ebook, click “Use eBook File”
If you have a specific print book lick on the Browse button under “I want to upload my own print interior.” and upload the manuscript file

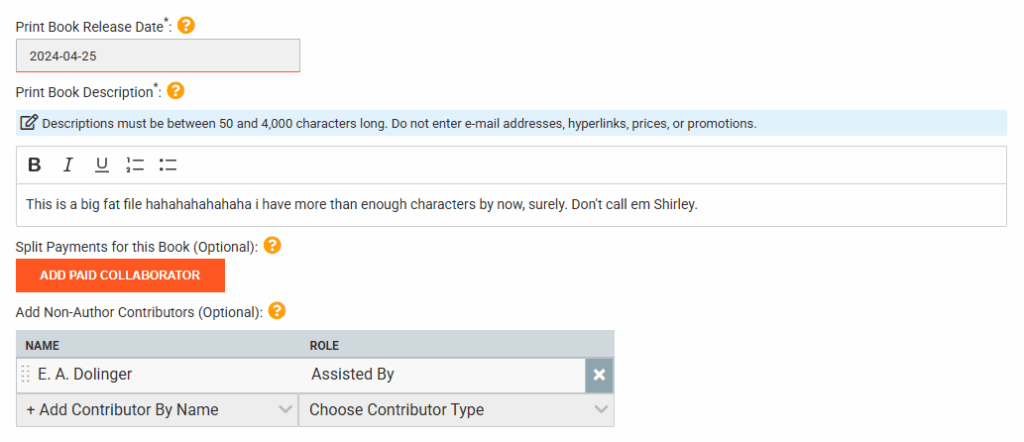
In the “Print Book Release Date” field, click on the field and select a new Release Date from the calendar.
Provide your Book Description in the “Print Book Description” field (It will default to the eBook description, but you can change it if you want something different for the Print Listing)
Optionally, you can choose to Split Payments earned by this Print Book by clicking “Add Paid Collaborator” and following the directions on the pop up window.
Another optional action you may take is to add non-author contributors. Since these are OPTIONAL, they are not required to publish your Print Book.
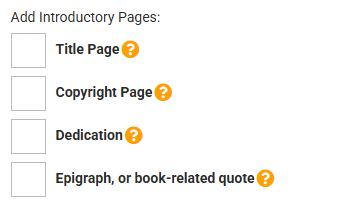
Select any Introductory pages you want added to your file (keep in mind if you have these in your file already you don’t need to check the box as it will duplicate).
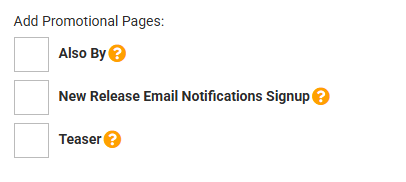
Add Promotional pages if you like.
See our FAQ about automated Also By pages and Teaser pages.
See our Knowledge Base about New Release Notification Signup.
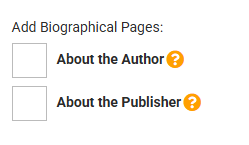
Add Biographical pages if desired
If you need a D2D-Assigned ISBN, click the bubble next to “Give me a free Draft2Digital ISBN”
If you have an ISBN that you have ownership of, click the bubble next to “I want to use my own Ebook ISBN”
Please note that this decision cannot be changed once an ISBN is set for the Book Project.

Click on Save & Continue at the bottom of the Print Book Details Page.
Step 2: Print Book Inside
You can use the Inside Details Sidebar to make choices about the layout of the print manuscript.
The Template Style Options will let you chose your D2D Style Template, and make choices about how to start chapters and scenes if the chosen Style allows it
Be advised, if you provide your own custom PDF, the customization options will be very limited
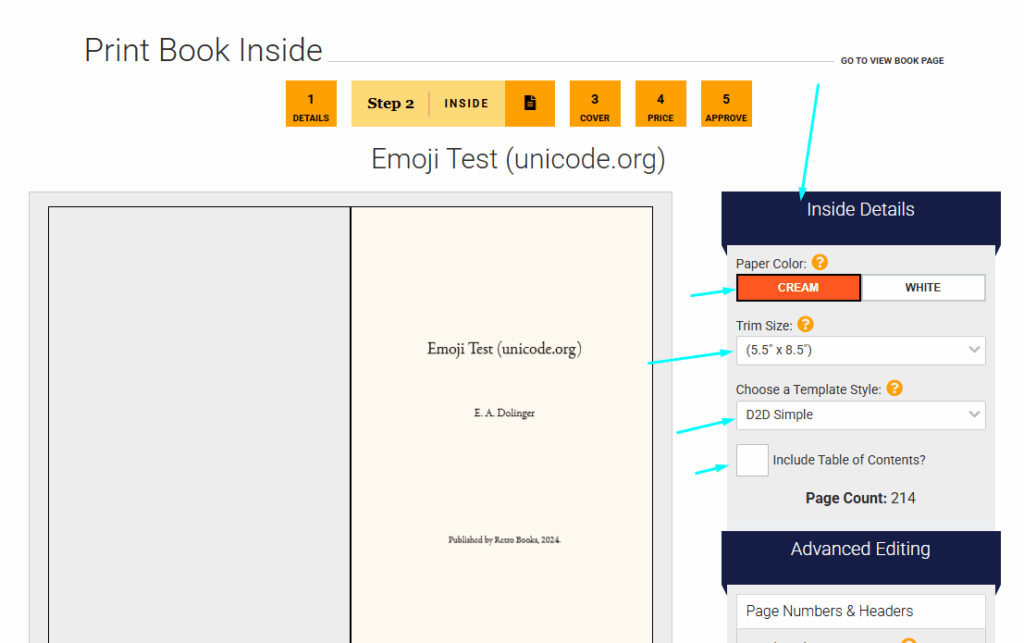
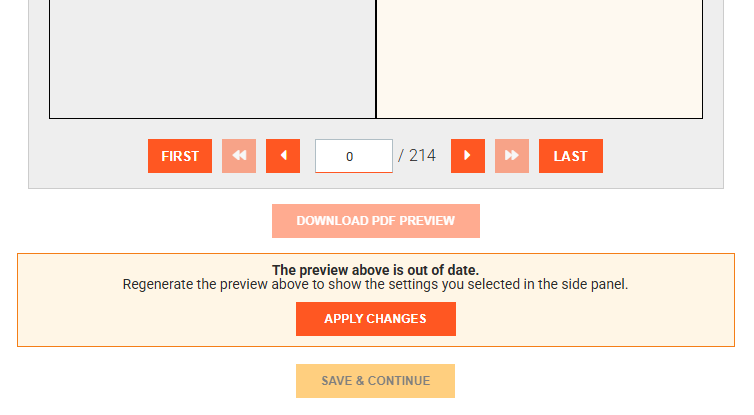
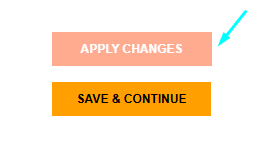
When you make changes to Template Style or Inside Details, be sure to scroll to the bottom of the page and click Apply Changes to see your changes reflected in the preview above. You should also Apply Changes before before you hit Save and Continue.
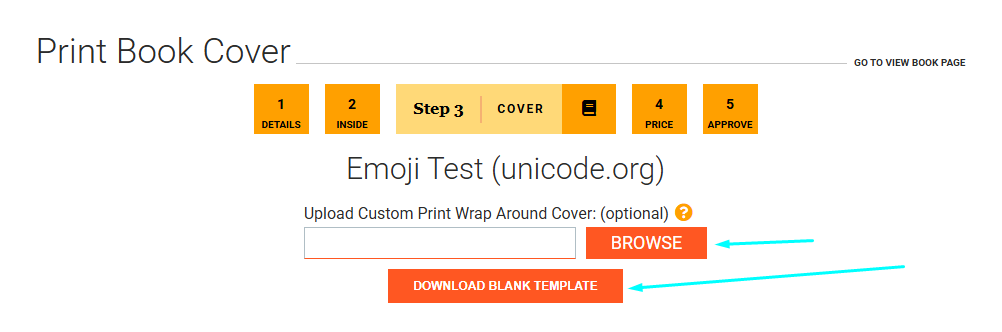
Print Book Cover Step
As a default, the system will generate a cover based on your provided Front Cover Image
If you have your own wraparound cover, click on Browse button under “Upload Custom Print Wrap Around Cover Image: (Optional)” and upload the wraparound cover.
Please make sure if you provide your own wraparound cover, it is in line with the Template provided when you click “Download Blank Template”.
If you use our generated cover, you have options for customizing under the cover preview displayed.
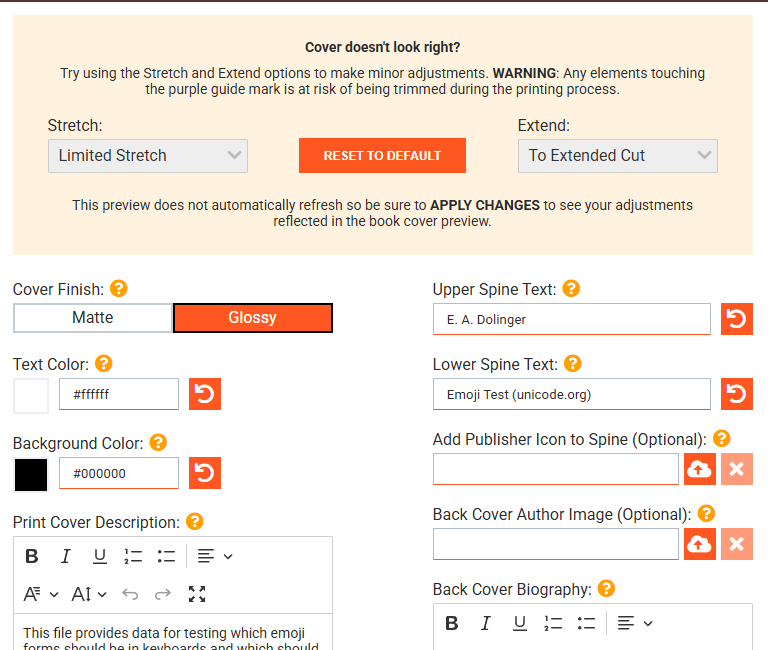
When you use these fields to customize your cover, hit Apply Changes to see your submitted changes.
When you are ready to continue with the current cover, hit Save & Continue.
Step 4: Print Book Price
Type in a number to set a Print Book Price. (You will also see displayed the Projected Royalties you would make for each sale of the book above the price box).
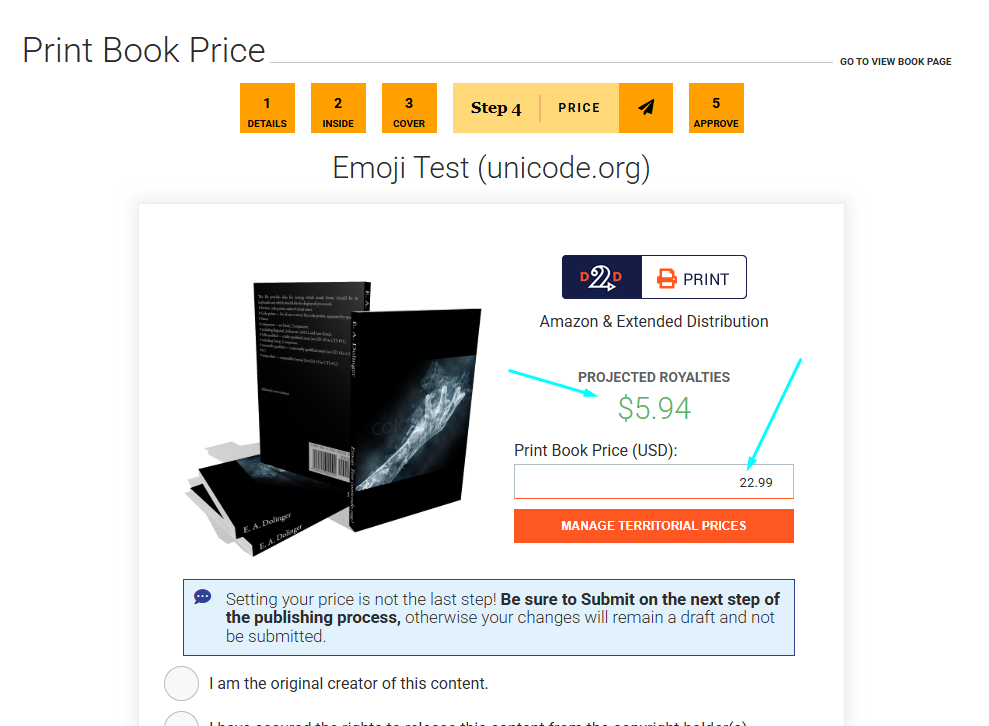
Check one of the top three options then confirm in the bottom boxes to confirm your rights, afterwards you’ll be able to click SAVE & CONTINUE.
Step 5: Print Book Approval
If you want to submit the book for distribution so it can be available for purchase ASAP: Click the bubble next to “I have reviewed this book and approve it for release to print on demand.”
If you want to wait to approve the book for distribution until you have had a chance to see an author copy: Click the bubble next to “I want to order a copy of my book before I approve distribution.”
Once you are ready, Click Submit.

From there, you are good to go! We will email you a private link once your book’s author copies are ready to purchase, or you can check your Print Details page (found on the View Book page by clicking the yellow print tab) for when your proofs or author copies will be available to purchase.